 (Image via
In our super-connected world, we’re on camera more than ever. From Zoom classes and job interviews to endless selfies for the 'gram, knowing how to do your makeup for the camera has become an essential skill. What looks amazing in person can sometimes appear washed out, shiny, or just plain different on screen. The camera has a way of picking up things the naked eye might miss, and it can also flatten your features.
But don’t worry, you don’t need to be a professional makeup artist to master a camera-ready look. It’s all about understanding a few key techniques and using the right products to enhance your features, control shine, and ensure you look just as fabulous on screen as you do in real life. Let’s break down the best tips for getting your makeup to look flawless for any photo or video call.
It All Starts with Lighting
Before you even pick up a brush, let's talk about the most important factor: lighting. Good lighting is the secret to looking great on camera. Bad lighting can create unflattering shadows, make your skin tone look off, and highlight imperfections.
- Natural Light is Your Best Friend: Whenever possible, position yourself facing a window. Natural light is soft and diffused, which is incredibly flattering. It evens out your skin tone and gives you a beautiful, natural glow.
- Invest in a Ring Light: If natural light isn't an option, a ring light is a game-changer. These lights provide even, direct illumination that eliminates shadows and mimics the effect of natural daylight. Place it directly in front of you at eye level for the best results.
- Avoid Overhead Lighting: Lighting that comes from directly above you is the enemy. It casts harsh shadows under your eyes, nose, and chin, which can make you look tired and accentuate dark circles.
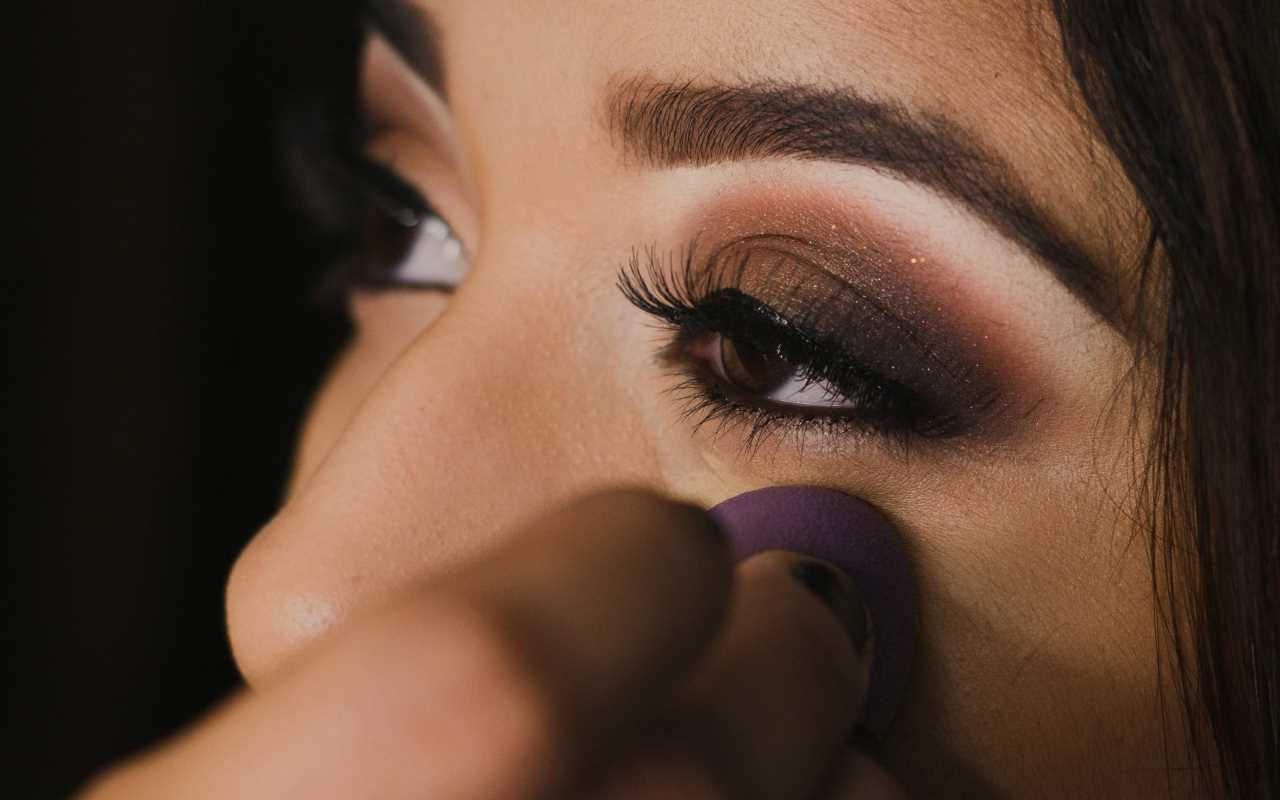
Creating a Flawless, Flashback-Free Base
The camera, especially with a flash, can be unforgiving. Your goal is to create a base that looks smooth and even without causing "flashback"—that ghostly white cast that can appear in photos.
Prep Your Skin
Hydrated, prepped skin is the foundation of any good makeup look.
- Moisturize: Start with a lightweight, hydrating moisturizer to create a smooth canvas. This helps your makeup go on evenly and prevents it from looking cakey.
- Prime Time: A good primer is essential for camera-ready makeup. It helps to smooth out pores and fine lines, control oil, and make your makeup last longer. For a radiant look, try an illuminating primer. If you tend to get shiny, a mattifying primer in your T-zone is a great choice.
Foundation and Concealer
The key here is to find a formula that offers good coverage without looking heavy.
- Choose the Right Formula: Satin or natural-finish foundations are often the most flattering on camera. They provide enough coverage to even out your skin tone without looking completely flat like some matte formulas can. HD (High Definition) foundations are specifically designed to look seamless and natural on camera.
- Avoid SPF Flashback: The main culprit of flashback is often SPF, specifically mineral sunscreens containing zinc oxide and titanium dioxide. For important photos or video calls where flash might be used, opt for a foundation without SPF or one that uses a chemical sunscreen.
- Conceal Strategically: Use a creamy, hydrating concealer to brighten your under-eye area. To avoid a heavy look, apply it only where you need it—typically in the inner and outer corners of your eyes. Choose a shade that is one or two shades lighter than your foundation to create a lifting effect.
Bringing Dimension Back: Contour, Blush, and Highlight
Cameras can make your face look flat and one-dimensional. This is where contour, blush, and highlighter come in to add back shape, warmth, and glow. You may need to apply a little more product than you would for an everyday look, as camera and lighting can wash out color.
Contour
Contouring for the camera is about gently sculpting your features, not creating harsh lines.
- Use Matte Shades: For a natural-looking shadow, always use a matte contour product. Cream contours are fantastic for blending seamlessly into the skin, while powders are great for a softer effect.
- Strategic Placement: Apply your contour in the hollows of your cheeks (just under your cheekbones), along your jawline, and on the sides of your forehead. Blend it out thoroughly so there are no visible lines.
Blush
Blush is one of the most important steps for looking alive on camera. It brings warmth and life back to your complexion.
- Choose a Bright Shade: Don't be afraid of a little color. Peachy and rosy pinks are universally flattering and show up well on camera. Apply the blush to the apples of your cheeks and blend it upward toward your temples for a lifted look.
- Cream vs. Powder: Cream blushes melt into the skin for a very natural, dewy finish. Powder blushes offer a softer look and can be great for controlling shine.
Highlight
A little bit of highlight can make your skin look incredibly radiant and healthy on camera, but it's important not to go overboard.
- Avoid Glitter: Highlighters with large glitter particles can look like specks of dust on camera. Opt for finely milled powders or liquid highlighters that give you a "lit-from-within" sheen.
- Placement is Key: Apply highlighter to the high points of your face where light would naturally hit: the tops of your cheekbones, the bridge of your nose, and your cupid's bow.
Making Your Eyes and Lips Pop
Eyes
Your eyes are a major focal point on camera, so you want to make sure they are defined.
- Define Your Brows: Brows frame your face, so don't skip them. Fill in any sparse areas with a pencil or powder to create a clean, defined shape. A clear or tinted brow gel will help keep them in place.
- Use Matte Eyeshadows: While shimmer is fun, matte eyeshadows are generally more flattering on camera, especially in the crease. They create depth without reflecting too much light. Use a neutral matte shade in your crease to define your eye shape.
- Eyeliner and Mascara are a Must: A thin line of black or brown eyeliner along your upper lash line can make your lashes look fuller and your eyes more defined. Finish with a few coats of a volumizing or lengthening mascara to really open up your eyes.
Lips
Your lip color can get washed out on camera, so choose a shade that has enough pigment.
- Go One Shade Brighter: Pick a lipstick or gloss that is a shade or two brighter than what you would normally wear. Nude lipsticks can sometimes make you look washed out on screen, so opt for a rosy-nude, pink, or berry shade.
- Define with Liner: A lip liner is your best friend for a camera-ready pout. It prevents your lipstick from bleeding and helps to create a clean, defined shape. You can use it to slightly overline your lips for a fuller appearance.
Finishing Touches for a Long-Lasting Look
- Set Your Makeup: To ensure your makeup stays in place and to control shine, lightly set your face with a translucent powder. Focus on the T-zone and under your eyes.
- Use a Setting Spray: A good setting spray is the final step to lock everything in. It will meld all your makeup layers together for a seamless finish and help it last for hours.
By keeping these tips in mind, you can feel confident and look your absolute best in any photo or video call. It's all about playing with light and dimension to let your best features shine through.