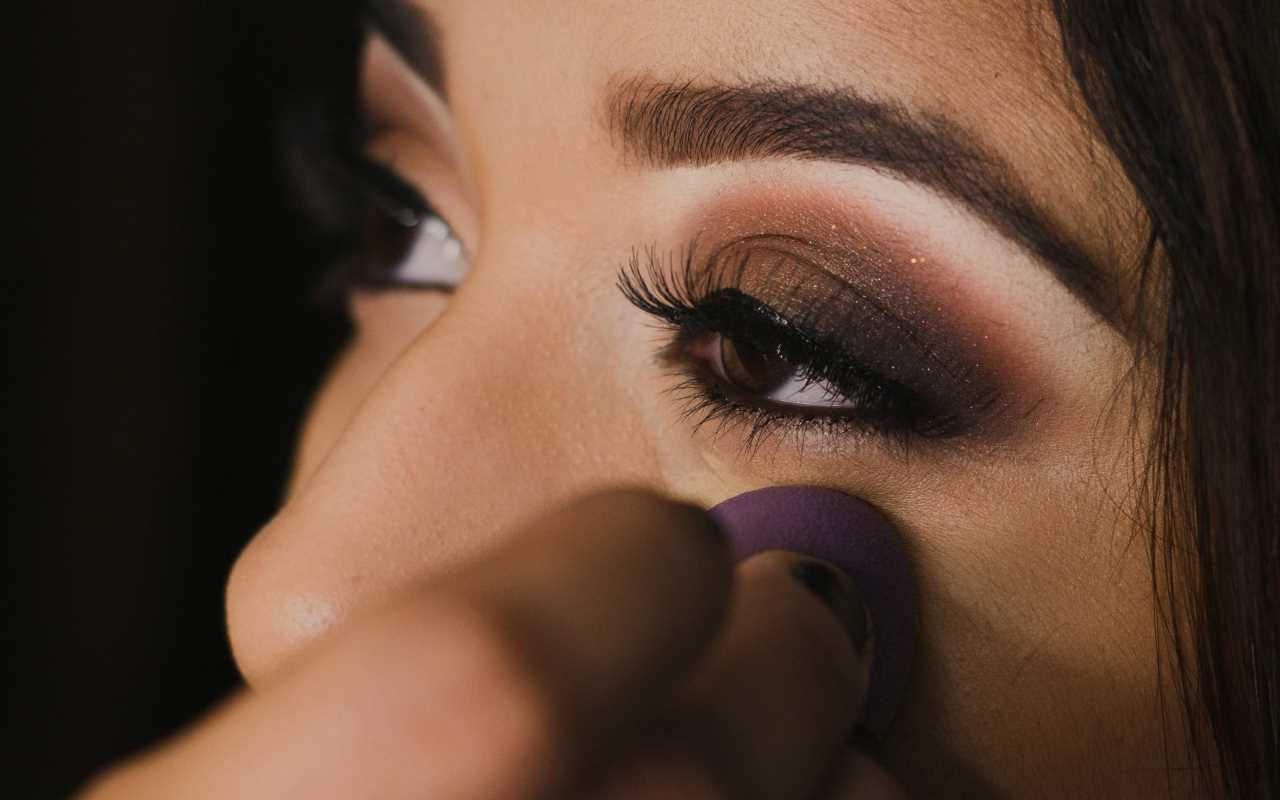
It’s a universal makeup moment: you’ve just perfected your winged eyeliner, and a sudden sneeze sends it streaking down your cheek. Or maybe you’re about to head out the door when you notice your flawless red lip has migrated toward your chin. A makeup smudge can feel like a total disaster, but it doesn't have to be. You don’t need to wipe everything off and start from scratch.
With a few smart tricks and the right tools, you can clean up any makeup mishap in seconds. It’s all about having a game plan and the right products on hand to tackle smudges, smears, and mistakes without ruining the rest of your look. Let's dive into the best quick fixes for those smudges you definitely didn't plan on.
The Mascara Smear: A Classic Calamity
It happens to everyone. You’re applying your mascara, and the wand slips, leaving a black dot on your eyelid. Or maybe you blink too soon, and now you have little specks under your eyes. The key to fixing this is patience.
The Golden Rule: Let It Dry!
Your first instinct might be to wipe it away immediately, but don't. A wet mascara smudge will only smear and make a bigger mess. Instead, finish the rest of your makeup and let the mascara spot dry completely. This usually only takes a minute or two. Once it's dry, it will flake off easily without ruining your eyeshadow or foundation.
What You'll Need:
- A clean spoolie (the brush on the end of a brow pencil) or a dry cotton swab.
How to Fix It:
- Wait: Give the mascara smudge a minute to dry fully.
- Flick It: Take your clean spoolie or dry cotton swab and gently flick the dried mascara speck. It should pop right off your skin without leaving a trace.
- Touch Up (If Needed): If a tiny bit of shadow or concealer came off with it, use your finger or a small brush to lightly tap and blend the area.
This simple trick is a game-changer and keeps your eye makeup looking flawless.
The Eyeliner Emergency: When Wings Go Wrong
Winged eyeliner requires a steady hand, and sometimes, things go sideways. One wing might be thicker than the other, the line might be bumpy, or the flick might be aimed in the wrong direction. Instead of grabbing a makeup wipe and starting over, you can perform some precision cleanup.
What You'll Need:
- A pointed cotton swab
- Micellar water or a lightweight concealer
How to Fix It (The Eraser Method):
- Soak the Tip: Dip the pointed end of your cotton swab into a small amount of micellar water. Squeeze out any excess so it’s damp, not soaking wet.
- Carve It Out: Use the damp swab like an eraser to clean up the edge of your eyeliner. You can sharpen your wing, fix a bump, or even out the thickness. The pointed tip gives you incredible precision.
- Let It Dry: Give the area a few seconds to dry before reapplying any eyeliner.
How to Fix It (The Concealer Method):
- Apply Concealer: Take a small, flat brush and dip it into a tiny amount of your go-to concealer.
- Define the Line: Carefully trace underneath your winged liner with the concealer. This not only cleans up any smudges but also makes your wing look extra sharp and defined.
- Blend It Out: Gently blend the concealer into your foundation so there are no harsh lines.
This technique is a staple for makeup artists and makes achieving a sharp wing much less stressful.
The Lipstick Bleed: Keeping Color in Its Place
A bold lip is a power move, but it loses its impact when it starts bleeding into the fine lines around your mouth or smudging at the corners. This often happens with creamy or glossy formulas. Luckily, there are easy ways to clean it up and prevent it from happening again.
What You'll Need:
- A pointed cotton swab or a lip brush
- Concealer or a translucent setting powder
How to Fix It:
- Clean Up the Edges: Similar to the eyeliner trick, take a pointed cotton swab with a bit of micellar water or a clean lip brush with a tiny amount of concealer. Trace around the outside of your lips to clean up any feathering and create a crisp line.
- Set the Perimeter: To prevent future bleeding, take a small fluffy brush and dip it into some translucent setting powder. Gently tap the powder around the border of your lips. This creates an invisible barrier that helps lock your lipstick in place.
For extra staying power, try applying a clear or matching lip liner before your lipstick to create a solid boundary.
The Foundation Fumble: Creases and Patchiness
Sometimes foundation can get patchy or settle into smile lines or under-eye creases throughout the day. This isn't a smudge in the traditional sense, but it can ruin an otherwise perfect base.
What You'll Need:
- A damp makeup sponge
- A setting spray
- A small amount of translucent powder (optional)
How to Fix It:
- Re-blend the Area: Take a clean, damp makeup sponge and gently press and bounce it over the creased or patchy area. The moisture will help rehydrate the product and blend it back into the skin seamlessly. Don't rub or wipe, as that will just remove the makeup.
- Spritz and Set: To refresh your whole face and prevent further creasing, hold a setting spray about six inches from your face and give it a few light spritzes.
- Lightly Powder: If you have oily skin, you can lightly tap a very small amount of translucent powder over the area after re-blending to help lock it in place.
Your On-the-Go Smudge-Fixing Kit
To be prepared for any makeup mishap, it's a great idea to keep a small "first aid" kit in your bag.
- Pointed Cotton Swabs: These are the ultimate precision tool for cleaning up smudges.
- Travel-Sized Micellar Water: A few drops can fix almost any mistake.
- A Clean Spoolie: Perfect for fixing mascara smudges and grooming brows.
- A Mini Translucent Powder: Great for setting lipstick borders and touching up a shiny T-zone.
- A Mini Setting Spray: A quick spritz can revive your whole look.
 (Image via


